
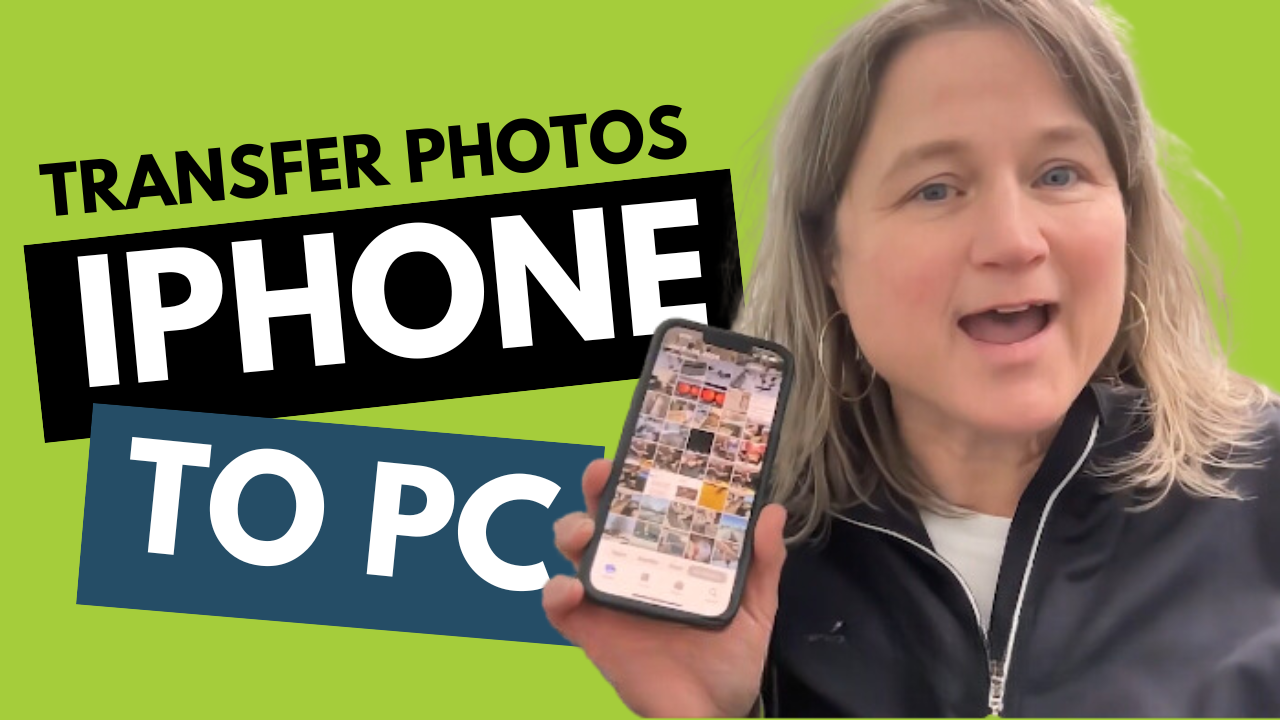
Copy Photos from iPhone to PC
Are you puzzled about how to move your iPhone photos to your PC? Have you reached the point where you cannot locate the specific photos you want?
Recently, we did a survey asking our clients about their smartphone challenges and almost all of them wanted to save their pictures on their computer. It's a smart move because you have a copy at home, and you can back it up to an external hard drive and store it in a cloud storage like Forever.
Here's a few things to check on the iPhone library and settings before you can transfer those photos to the PC.
1. iPhone Library
Before connecting your iPhone to your PC, take a moment to declutter your photo library. We recommend deleting photos you no longer need directly from your phone. This ensures that you only transfer the pictures you truly want to keep.
2. iPhone Settings
Navigate to your iPhone settings and pay attention to two crucial areas. First, check the 'Photos' settings. If 'Optimized iPhone Storage' is on, your photos might be stored in the cloud as thumbnails. Turn it off to download and keep the originals on your device.
Additionally, scroll down to 'Transfer to Mac or PC.' Set it to automatically transfer photos and videos in a compatible format (JPEG) to avoid compatibility issues with some programs.
3. Camera Settings
In the camera settings, switch the capture format to 'Most Compatible' to ensure your photos are saved in JPEG format. This prevents complications with programs that don't support HEIC files.
4. Live Photo Settings
To avoid issues with live photos, go to 'Preserve Settings' and make sure the live photo setting remains off. This ensures that live photos are preserved as photos and videos when transferred to your PC.
5. Connect Your iPhone to Your PC
Use a USB cable or an adapter to connect your iPhone to your PC. Once connected, a window should pop up on your PC. If not, ensure you've allowed your iPhone to be accessed by the computer.
To help you with the process, watch this video tutorial👇
Once transferred, clean up your photo folder on your PC. Delete unnecessary files, rename the folder following a date and description formula, and create subfolders for better organization.
For those interested in long-term storage and easy sharing, consider uploading your photos to a cloud storage service like Forever. This step is optional but adds extra protection for your memories.
These steps will help you efficiently transfer your iPhone photos to your PC, giving you more control over your photo organization. Happy organizing!
